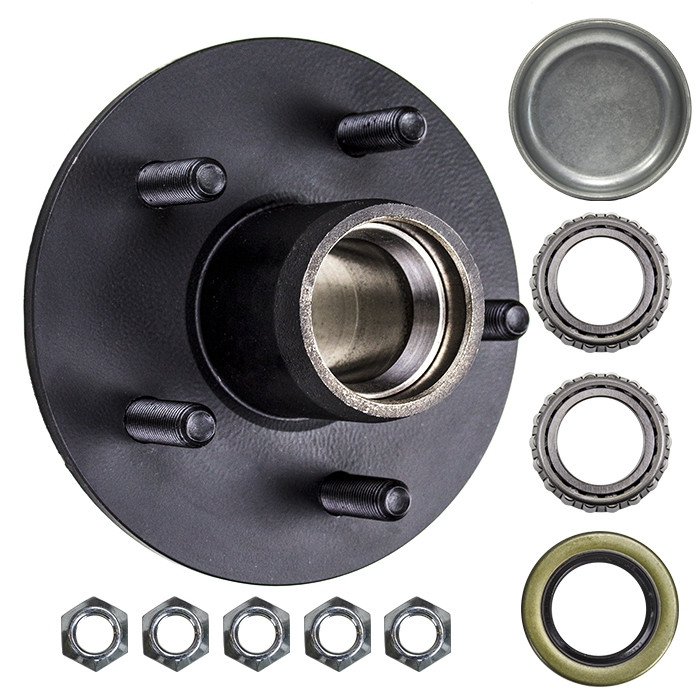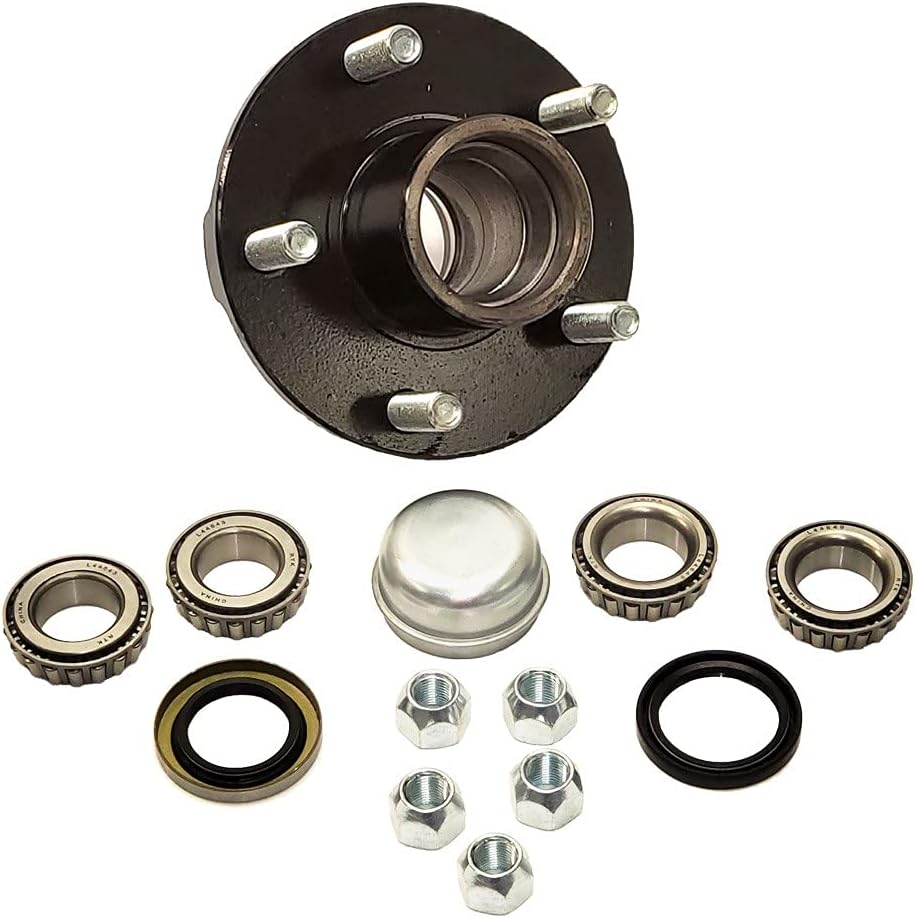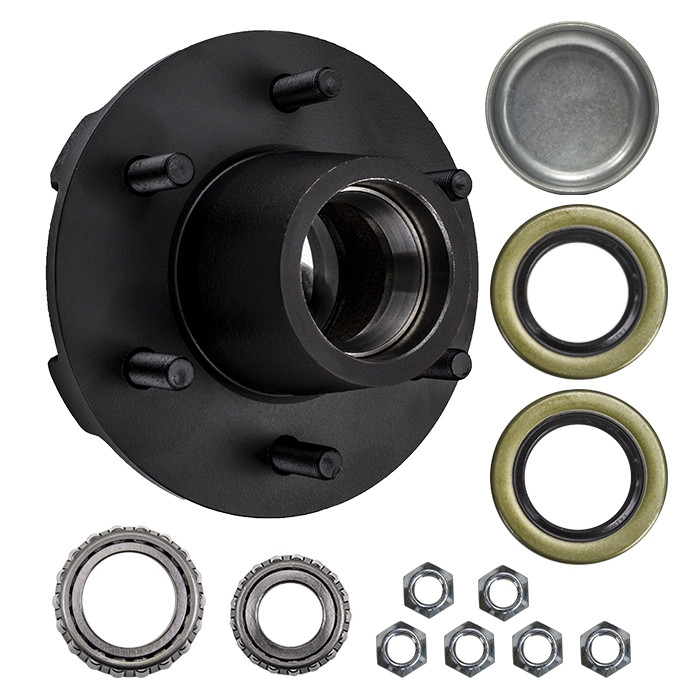
What steps are involved in the proper removal and installation of an axle hub assembly?
Properly removing and installing an axle hub assembly requires a systematic approach and the use of appropriate tools. Here are the detailed steps involved in the process:
- Gather the necessary tools: Before starting the removal and installation process, gather the required tools and equipment. This may include a jack, jack stands, lug wrench, socket set, torque wrench, pry bar, hammer, and a suitable wheel bearing grease.
- Prepare the vehicle: Park the vehicle on a flat surface and engage the parking brake. If necessary, loosen the lug nuts on the wheel associated with the axle hub assembly, but do not remove them yet.
- Jack up the vehicle: Use a jack to lift the vehicle off the ground at a suitable jacking point. Place jack stands under the vehicle to provide additional support and ensure safety. Carefully lower the vehicle onto the jack stands.
- Remove the wheel: Completely remove the lug nuts and take off the wheel to access the axle hub assembly.
- Disconnect brake components: Depending on the specific vehicle, there may be brake components attached to the axle hub assembly. This can include brake calipers, brake pads, and brake rotors. Follow the appropriate procedure to disconnect these components, which may involve removing caliper bolts, brake pad retaining clips, or rotor retaining screws.
- Disconnect the axle: If the axle shaft is connected to the axle hub assembly, disconnect it by removing the retaining nut or bolts. This step may vary depending on the type of axle and vehicle.
- Remove the axle hub assembly: The axle hub assembly is typically secured to the steering knuckle or suspension component by bolts or studs. Use the appropriate tools to remove these fasteners and carefully detach the axle hub assembly from the vehicle. In some cases, the assembly may be tight and require the use of a pry bar or hammer to gently separate it from the mounting point.
- Clean and inspect: Once the axle hub assembly is removed, clean the mounting surface on the steering knuckle or suspension component. Inspect the mounting area for any damage or corrosion that may affect the installation of the new axle hub assembly. Also, inspect the axle shaft and surrounding components for any signs of damage or wear.
- Install the new axle hub assembly: Apply a thin layer of wheel bearing grease to the mounting surface of the steering knuckle or suspension component. Carefully align the new axle hub assembly with the mounting holes and slide it into place. Install the bolts or studs and tighten them according to the manufacturer’s specifications. If there are any retaining nuts or bolts for the axle shaft, reinstall them and torque them to the recommended values.
- Reconnect brake components: Reinstall any brake components that were disconnected, such as brake calipers, brake pads, and brake rotors. Make sure to follow the correct procedure and torque specifications for these components.
- Reinstall the wheel: Put the wheel back onto the vehicle and hand-tighten the lug nuts. Lower the vehicle from the jack stands using a jack, and then use a torque wrench to tighten the lug nuts to the manufacturer’s recommended torque specification.
- Test and verify: Once the axle hub assembly is installed and all components are properly reconnected, take the vehicle for a test drive. Pay attention to any unusual noises, vibrations, or handling issues. Verify that the axle hub assembly is functioning correctly and that there are no leaks or other problems.
It’s important to note that the specific steps and procedures may vary depending on the vehicle make and model. Always consult the vehicle’s service manual or seek professional assistance if you are unsure about any aspect of the removal and installation process.
In summary, the proper removal and installation of an axle hub assembly involve gathering the necessary tools, preparing the vehicle, jacking up the vehicle, removing the wheel, disconnecting brake components and the axle, removing the old axle hub assembly, cleaning and inspecting, installing the new assembly, reconnecting brake components, reinstalling the wheel, and finally testing and verifying the functionality of the axle hub assembly.

Are there specific tools required for DIY axle hub replacement, and where can I find them?
When undertaking a DIY axle hub replacement, certain tools are needed to ensure a smooth and successful process. Here are some specific tools that are commonly required for DIY axle hub replacement and where you can find them:
- Jack and jack stands: These tools are essential for raising the vehicle off the ground and providing a stable support system. You can find jacks and jack stands at automotive supply stores, hardware stores, and online retailers.
- Lug wrench or socket set: A lug wrench or a socket set with the appropriate size socket is necessary to loosen and tighten the lug nuts on the wheel. These tools are commonly available at automotive supply stores, hardware stores, and online retailers.
- Torque wrench: A torque wrench is required to tighten the lug nuts on the wheel and other fasteners to the manufacturer’s recommended torque specifications. Torque wrenches can be found at automotive supply stores, tool stores, and online retailers.
- Pry bar: A pry bar is useful for gently separating the axle hub assembly from the mounting point, especially if it is tightly secured. Pry bars are available at automotive supply stores, hardware stores, and online retailers.
- Hammer: A hammer can be used to tap or lightly strike the axle hub assembly or its components for removal or installation. Hammers are commonly available at hardware stores, tool stores, and online retailers.
- Wheel bearing grease: High-quality wheel bearing grease is necessary for lubricating the axle hub assembly and ensuring smooth operation. Wheel bearing grease can be purchased at automotive supply stores, lubricant suppliers, and online retailers.
- Additional tools: Depending on the specific vehicle and axle hub assembly, you may require additional tools such as a socket set, wrenches, pliers, or specific specialty tools. Consult the vehicle’s service manual or online resources for the specific tools needed for your vehicle model.
To find these tools, you can visit local automotive supply stores, hardware stores, or tool stores in your area. They typically carry a wide range of automotive tools and equipment. Alternatively, you can explore online retailers that specialize in automotive tools and equipment, where you can conveniently browse and purchase the tools you need.
It’s important to ensure that the tools you acquire are of good quality and suitable for the task at hand. Investing in quality tools can make the DIY axle hub replacement process more efficient and help achieve better results. Additionally, always follow the manufacturer’s instructions and safety guidelines when using tools and equipment.
In summary, specific tools are required for DIY axle hub replacement, such as a jack and jack stands, lug wrench or socket set, torque wrench, pry bar, hammer, and wheel bearing grease. These tools can be found at automotive supply stores, hardware stores, tool stores, and online retailers. Acquiring quality tools and following proper safety guidelines will contribute to a successful DIY axle hub replacement.

How do changes in wheel offset affect the angles and performance of axle hubs?
Changes in wheel offset can have a significant impact on the angles and performance of axle hubs. Here’s a detailed explanation:
Wheel offset refers to the distance between the centerline of the wheel and the mounting surface. It determines how far the wheel and tire assembly will be positioned in relation to the axle hub. There are three types of wheel offsets: positive offset, zero offset, and negative offset.
Here’s how changes in wheel offset can affect the angles and performance of axle hubs:
- Camber Angle: Camber angle refers to the inward or outward tilt of the wheel when viewed from the front of the vehicle. Changes in wheel offset can impact the camber angle. Increasing positive offset or reducing negative offset typically results in more positive camber, while increasing negative offset or reducing positive offset leads to more negative camber. Improper camber angle can cause uneven tire wear, reduced traction, and handling issues.
- Track Width: Wheel offset affects the track width, which is the distance between the centerlines of the left and right wheels. Wider track width can improve stability and cornering performance. Increasing positive offset or reducing negative offset generally widens the track width, while increasing negative offset or reducing positive offset narrows it.
- Steering Geometry: Changes in wheel offset also impact the steering geometry of the vehicle. Altering the offset can affect the scrub radius, which is the distance between the tire contact patch and the steering axis. Changes in scrub radius can influence steering effort, feedback, and stability. It’s important to maintain the appropriate scrub radius for optimal handling and performance.
- Wheel Bearing Load: Wheel offset affects the load applied to the wheel bearings. Increasing positive offset or reducing negative offset generally increases the load on the inner wheel bearing, while increasing negative offset or reducing positive offset increases the load on the outer wheel bearing. Proper wheel bearing load is crucial for their longevity and performance.
- Clearance and Interference: Changes in wheel offset can also impact the clearance between the wheel and suspension components or bodywork. Insufficient clearance due to excessive positive offset or inadequate clearance due to excessive negative offset can lead to rubbing, interference, or potential damage to the axle hub, suspension parts, or bodywork.
It’s important to note that any changes in wheel offset should be done within the manufacturer’s recommended specifications or in consultation with knowledgeable professionals. Deviating from the recommended wheel offset can lead to adverse effects on the axle hub angles and performance, as well as other aspects of the vehicle’s handling and safety.
When modifying wheel offset, it is crucial to consider the overall impact on the vehicle’s suspension geometry, clearance, and alignment. It may be necessary to make corresponding adjustments to maintain proper alignment angles, such as camber, toe, and caster, to ensure optimal tire wear, handling, and performance.
In summary, changes in wheel offset can have a significant impact on the angles and performance of axle hubs. They can affect camber angles, track width, steering geometry, wheel bearing load, and clearance. It is important to adhere to manufacturer’s specifications and consult with knowledgeable professionals when considering changes in wheel offset to ensure proper alignment, optimal performance, and safe operation of the vehicle.


editor by CX 2023-12-27